Showing posts with label DIY. Show all posts

20130225

Basement Instrument Repairs


Yamaha CS-50
As so many of us do, I have some vintage instruments hanging out in my basement.  I played with these as a child, but actually understand how to use them now, so I was definitely interested in bringing them back up to spec.  The first of the three is circa 1977 Yamaha CS-50 Analog Synthesizer.  All I could do with this as a child was make garbage noise, but I had a feeling I would know what to do with it now that I understood what all those little markings like VCO, VCF, and LFO mean.  I was very excited to get this awesome vintage synth up & running again.

The second instrument is also very exciting.  It is a Hohner D6 Clavinet... like the kind Stevie Wonder uses.  This really cool instrument has a keyboard that frets a note on one string for each of the 60 keys.  After a quick soldering of the battery connector, and a fresh 9v, I had this thing making funky noise immediately!  But there was definitely still something wrong, a few of the settings weren't working and not every key worked.  Fortunately I found a very good resource to fix these things.  More on that later.


Hohner D6 Clavinet

Finally, and I think this one has the least hope, there is a Chinese Hammer Dulcimer or Yangqin rotting away in a case that is falling apart.  The finish is cracking and all of the bridges are starting to separate from years of mis-tensioned strings.  The hammers are missing and one of the bridges has entirely detached from the body of the instrument.

20110202

Thriftstore Toolbox Finished

Here are some pics of the process and final product of the toolbox project:

Before
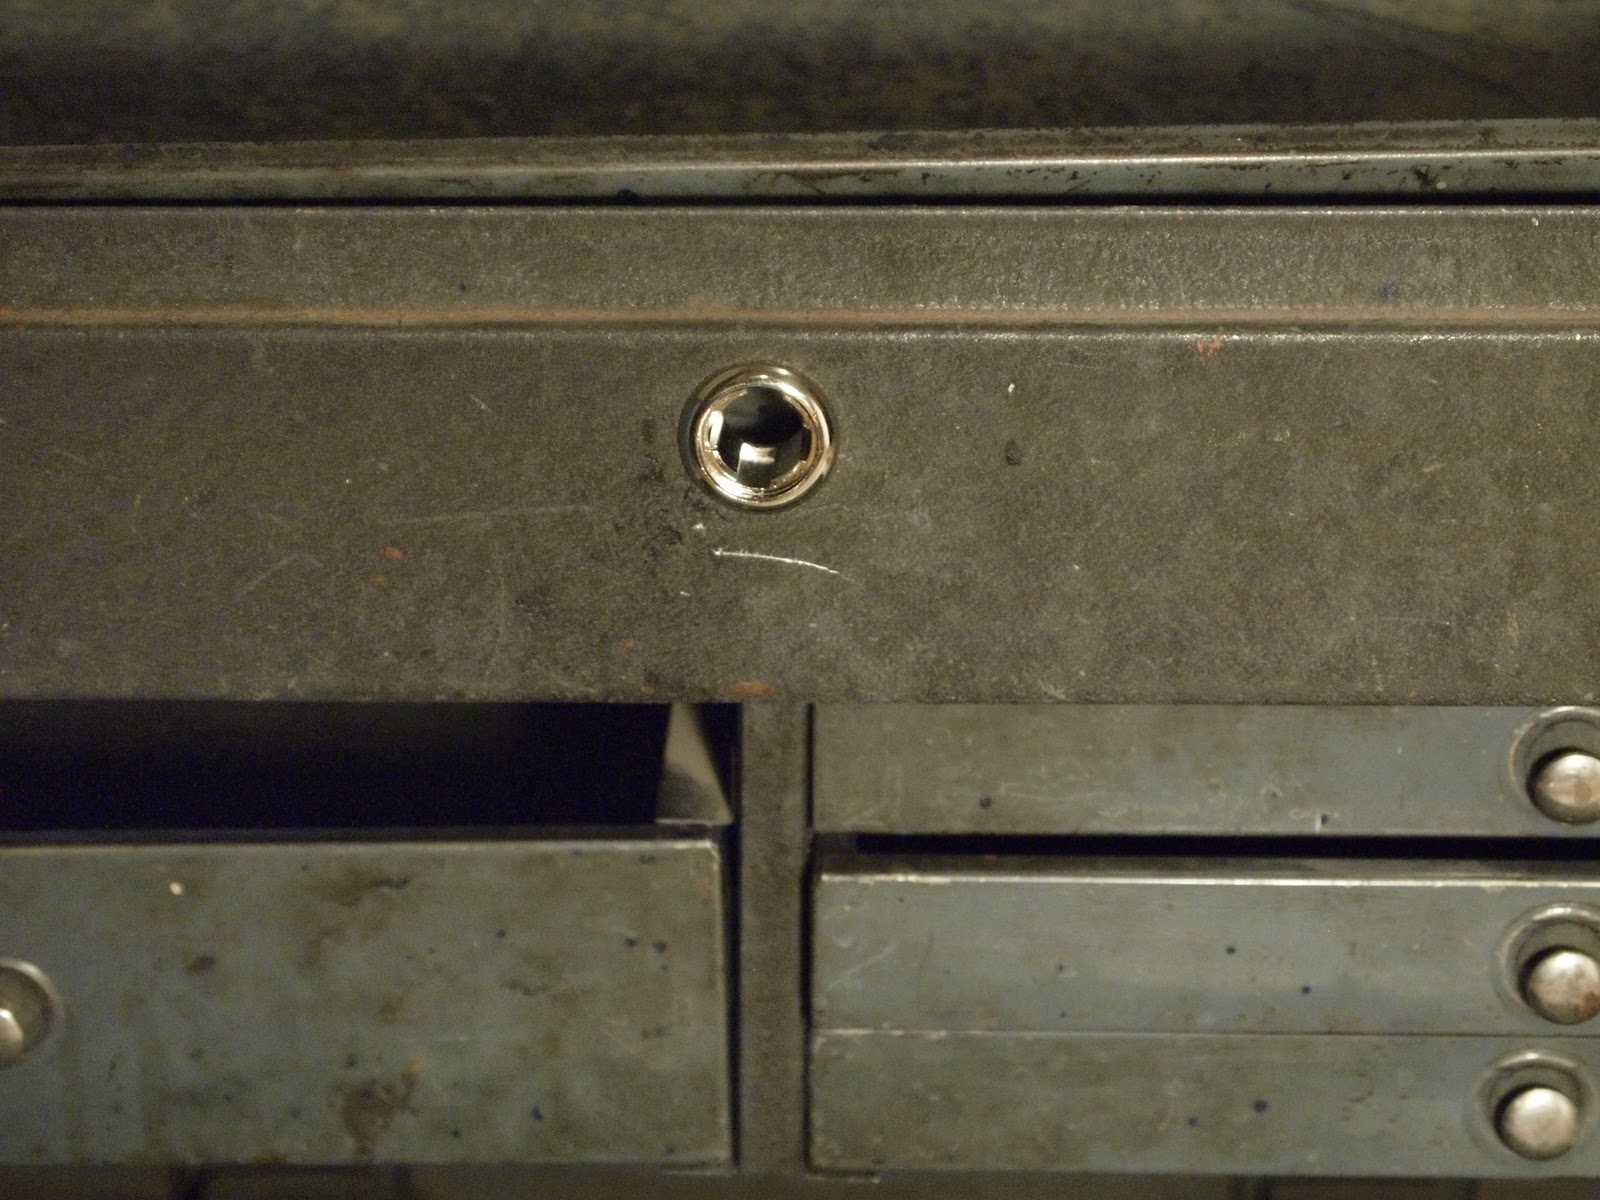
The only new hardware installed


The new lining was scraped out with a paint scraper and wiped clean.  I then used some spray adhesive to put the new lining in.  It smells like synthetic leather... pretty terrible, but it looks nice and I figure it will go away eventually. I'm pretty happy with the results.

20110129

DIY is easier when you actually have time to do it yourself...

Customized Electronic Music-Stand
So a tremendous advantage to existing in this liminal period between graduation and the 'real world' is the amount of time I've had to work on projects that I want to do.  Before graduation, I had 8 posts to my blog over the course of two years.  Now, after backBlogging, and with the work I've done this year (17 posts in January so far) I have officially made it to 50 posts (actually the most recent post was #50, but who besides me is really counting?).  Another advantage of all this time is that I've been able to tackle some DIY projects I had been putting off.

Electronic Music-Stand:
Front of Hardware

I have a customized music stand that I made some time back (featured in my article on Scoring for Film).  Instead of just being a music stand, I added some hardware that I harvested from an old flatscreen monitor.  This lets me mount it to the stand.  The clever part of all of this is that there is a release button on the backside of the monitor that would normally be blocked off.  So I drilled a hole for the button so that it can be pushed from the other side of the stand. (Notice I did a lot better job the second time). I can then see what is on my computer screen without being hunched over a laptop... very convenient.  However, when I first built it, I placed it to far off to one side, and the whole stand was very unstable, sometimes threatening to fall over onto some of my other instruments.